[youtube]https://www.youtube.com/watch?v=uvk78tU9S10[/youtube]
Check New Parts
The first think you want to do when you get a new part for the car you are working on is to check it for fit. You want to make sure it is the right part for the car before you start sanding or painting. This will also give you more time to get the right part if it is the wrong part.
The only part we are replacing on this project is the rear bumper As soon as we received the part we checked to make sure is was a fit. Especially since this was an aftermarket part. We found it fit correctly, so we were good to continue with the repairs and final sand the bumper cover.
Mask For Primer Surfacer
Primer surfacer is for filling minor imperfection, scratches, etc. Therefore, it is not necessary to apply primer surfacer to the whole car. In fact, that would be a waste of money and create more time sanding after primed.
If you remember in a previous video, we blocked the car used the coating that were on the car as a filler. That helped us identify lows and block some of the minor imperfections out without using primer. However, on all areas we did body work and featheredge areas we are going to apply primer surfacer. So with this in mind, we can plan the best way to mask the car when priming.
When masking try to eliminate masking hard edges. This is where you mask around the repair area allowing primer to get on the primer edge. I’m sure we’ve seen the square boxes masked off or square primer spots after the car has been primed.
The reason you do not want the hard edges is because the primer edge is hard to sand smooth and will cause more work and effort getting the edges sanded smooth. Many times you can still see where the lines were after the car has been painted. Besides, we’ve already final sanded the whole car so if overspray sprays out a little further than you intended, you’re safe without worrying if primer is on top of a un-sanded surface.
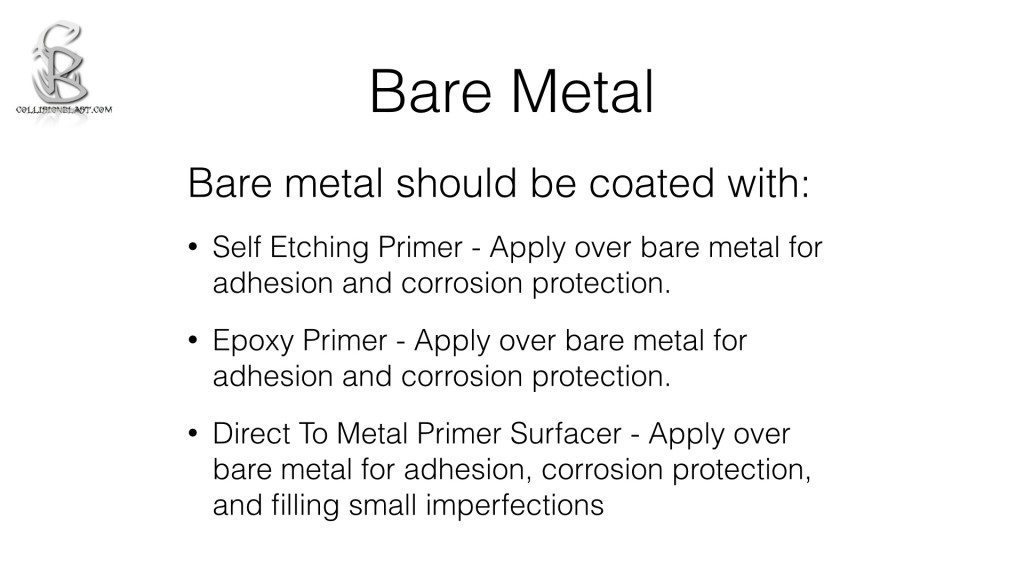
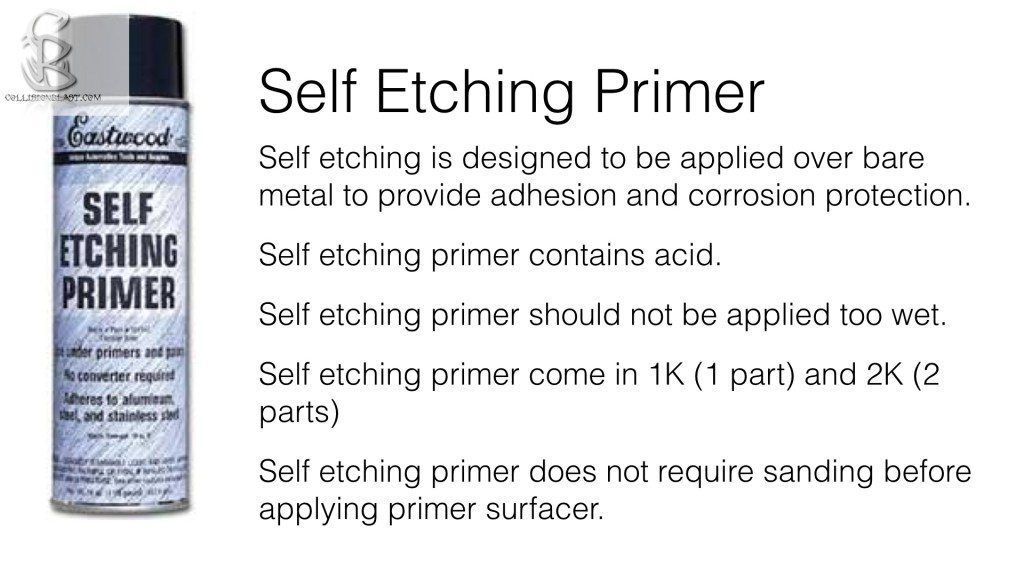
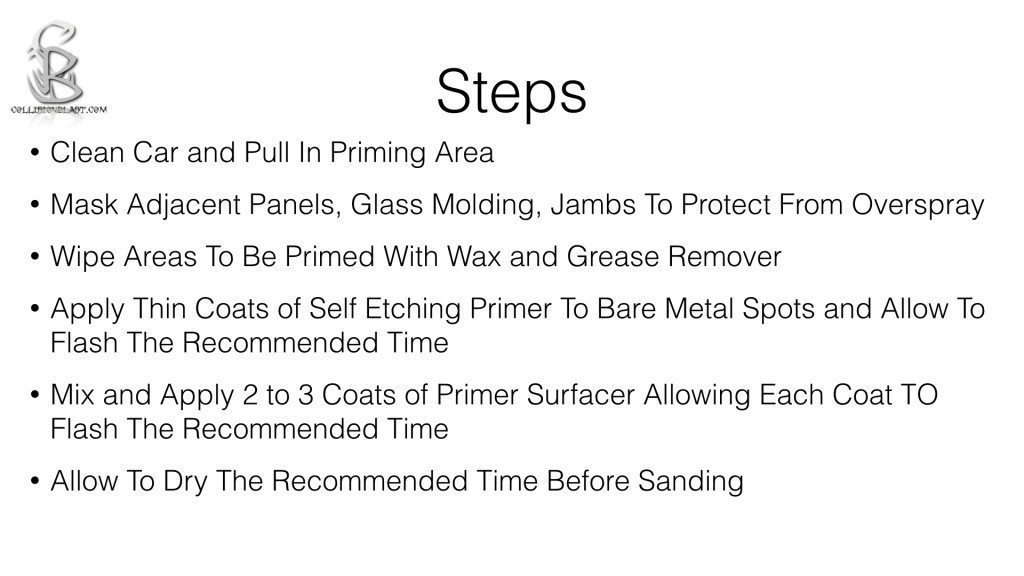
Once the car is masked of and ready for primer surfacer you need to make certain all bare metal has corrosion protection. This can be done using a self etch primer, epoxy primer, or a direct to metal primer surfacer. We only had a few metal spots of metal so we selected the Eastwood self etch primer is a spray can. This does not require thick coats just a few light coats will provide adequate corrosion protection to the bare metal. Allow it to flash off 15 to 20 minutes and you are ready to apply the primer surfacer.
Apply Primer Surfacer
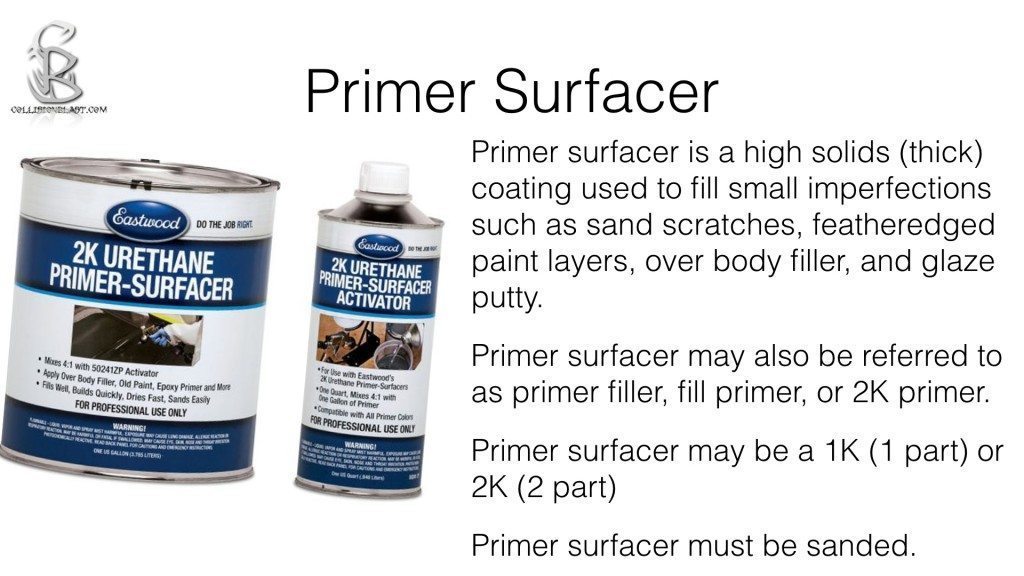
We are using Eastwood’s 2K Urethane Primer Surfacer. This specific primer surfacer mixes 4 parts of primer surfacer to 1 part catalyst. This primer does state that it can be applied over bare metal spots, but I feel more confident we have good corrosion protection using the self etch primer first.
We applied 3 coats to the repair areas. allowing it to flash 10 to 15 minutes between coats. Not allowing the primer to flash between coats solvent popping, sand scratch swelling, adhesion problems, etc. So don’t get in a hurry at this step or you may be wish you would have taken your time. It is tempting to hose 3 coats on thinking you are saving time, but will result in more time and effort afterwords.
Technical Data Sheet
As with any product, always read the recommended procedures found on the technical data sheet for each product that you use. To read the complete technical data sheet for this primer surfacer visit http://www.eastwood.com/images/pdf/50240INST.pdf
Self Etch Primer
Could not find tda http://www.eastwood.com/eastwood-s-self-etch-primer-gray.html
 Self Etch Primer


Leave a Reply
You must be logged in to post a comment.