LESSON 1 – LESSON 2 – LESSON 3 – LESSON 4 – LESSON 5 – LESSON 6 – LESSON 7 – LESSON 8 – LESSON 9 – LESSON 10
Welcome to Auto Repair Estimating. These lessons are designed to provide you with the basics to Auto Estimating. I hope you enjoy the lesson. Donnie

Lesson 2 – The Big Picture
The Big Picture Is Key When Estimating Damage
“I think it’s really important to look at the big picture instead of just one competition.” ~Shannon Miller
What This Chapter Covers
This chapter will explain how to gather the necessary information about the damaged vehicle and things to look for when inspecting the vehicle to help get a general idea of what happened during the accident and the extent of damage.
Why This Is Important
As an estimator, it is important to understand the process of gathering information, analyzing the extent of damage, and having a general idea of what needs to be repaired.
Video Overview – Part 1
Topics Covered In This Chapter Include:
• Gathering The Information
• Making The Process As Painless As Possible For The Customer
• Claim and Accident Report
• Initial Walk Around Inspection
• Taking Photos
• Predetermined Accident Sequence
• Inspecting Hidden Damage
This chapter has been aligned with the following 2013 NATEF/ASE tasks and the updated videos have been aligned with the 2021 NATEF/ASE tasks.:
•A:2 Prepare vehicle for inspection by providing access to damaged areas. HP-G
•A:3 Analyze damage to determine appropriate methods for overall repairs. HP-I
•A:5 Gather details of the incident/accident necessary to determine the full extent of vehicle damage. HP-G
Gathering Information About The Accident
The estimator will need to gather as much information about the accident as possible before actually inspecting the vehicle. One of the best resources to learn about the accident is the vehicle owner or the person driving the car when the accident occurred. It’s a good idea to get the customer involved and to have them explain what happened, what direction the vehicles were moving, and who was in the vehicle at the time of the accident.
This will give you an idea of what to look for during the first overall inspection. Some questions you may want to ask are shown below:
• How many people were in the vehicle at the time of the accident?
• Where were the passengers sitting?
• What were the road conditions (dry, wet, ice, etc.)
• Was the car moving or not moving at the time of the accident?
• What direction was the vehicle traveling at the time of the accident?
• Do you have any other information you can share with me?
Accidents Are Not Common For The Customer
 Flickr http://creativecommons.org/licenses/by-sa/2.0/legalcode
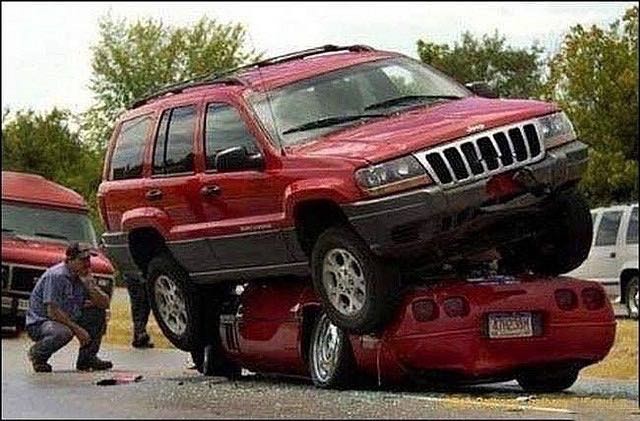
Keep in mind that an accident is not common for the customer. This may be the first accident they were involved in, and they may be confused due to stress or not remember some of the facts about the accident. Or they may try to persuade you that the accident was not their fault. Regardless of what they say, be certain to use common sense when verifying what the customer tells you compared with the damage to the vehicle.
If you can sense that the customer is confused, upset, nervous, or angry, then try to help them stay calm and assure them that it is your job to help them through the process. A vehicle represents the second-largest investment for many people, and dealing with an accident is a situation no one wants to be in. So try to make the process as painless as possible for the customer.
Claim and Accident Report
Accidents usually involve an insurance claim and may have a claims report. This report may help while gathering information about the accident, but this information will need to be reviewed and verified for accuracy.
You may also ask if there was an accident report. This may help answer questions as well. If an accident report is available, it will also need to be reviewed and verified for accuracy.
Initial Walk Around Inspection
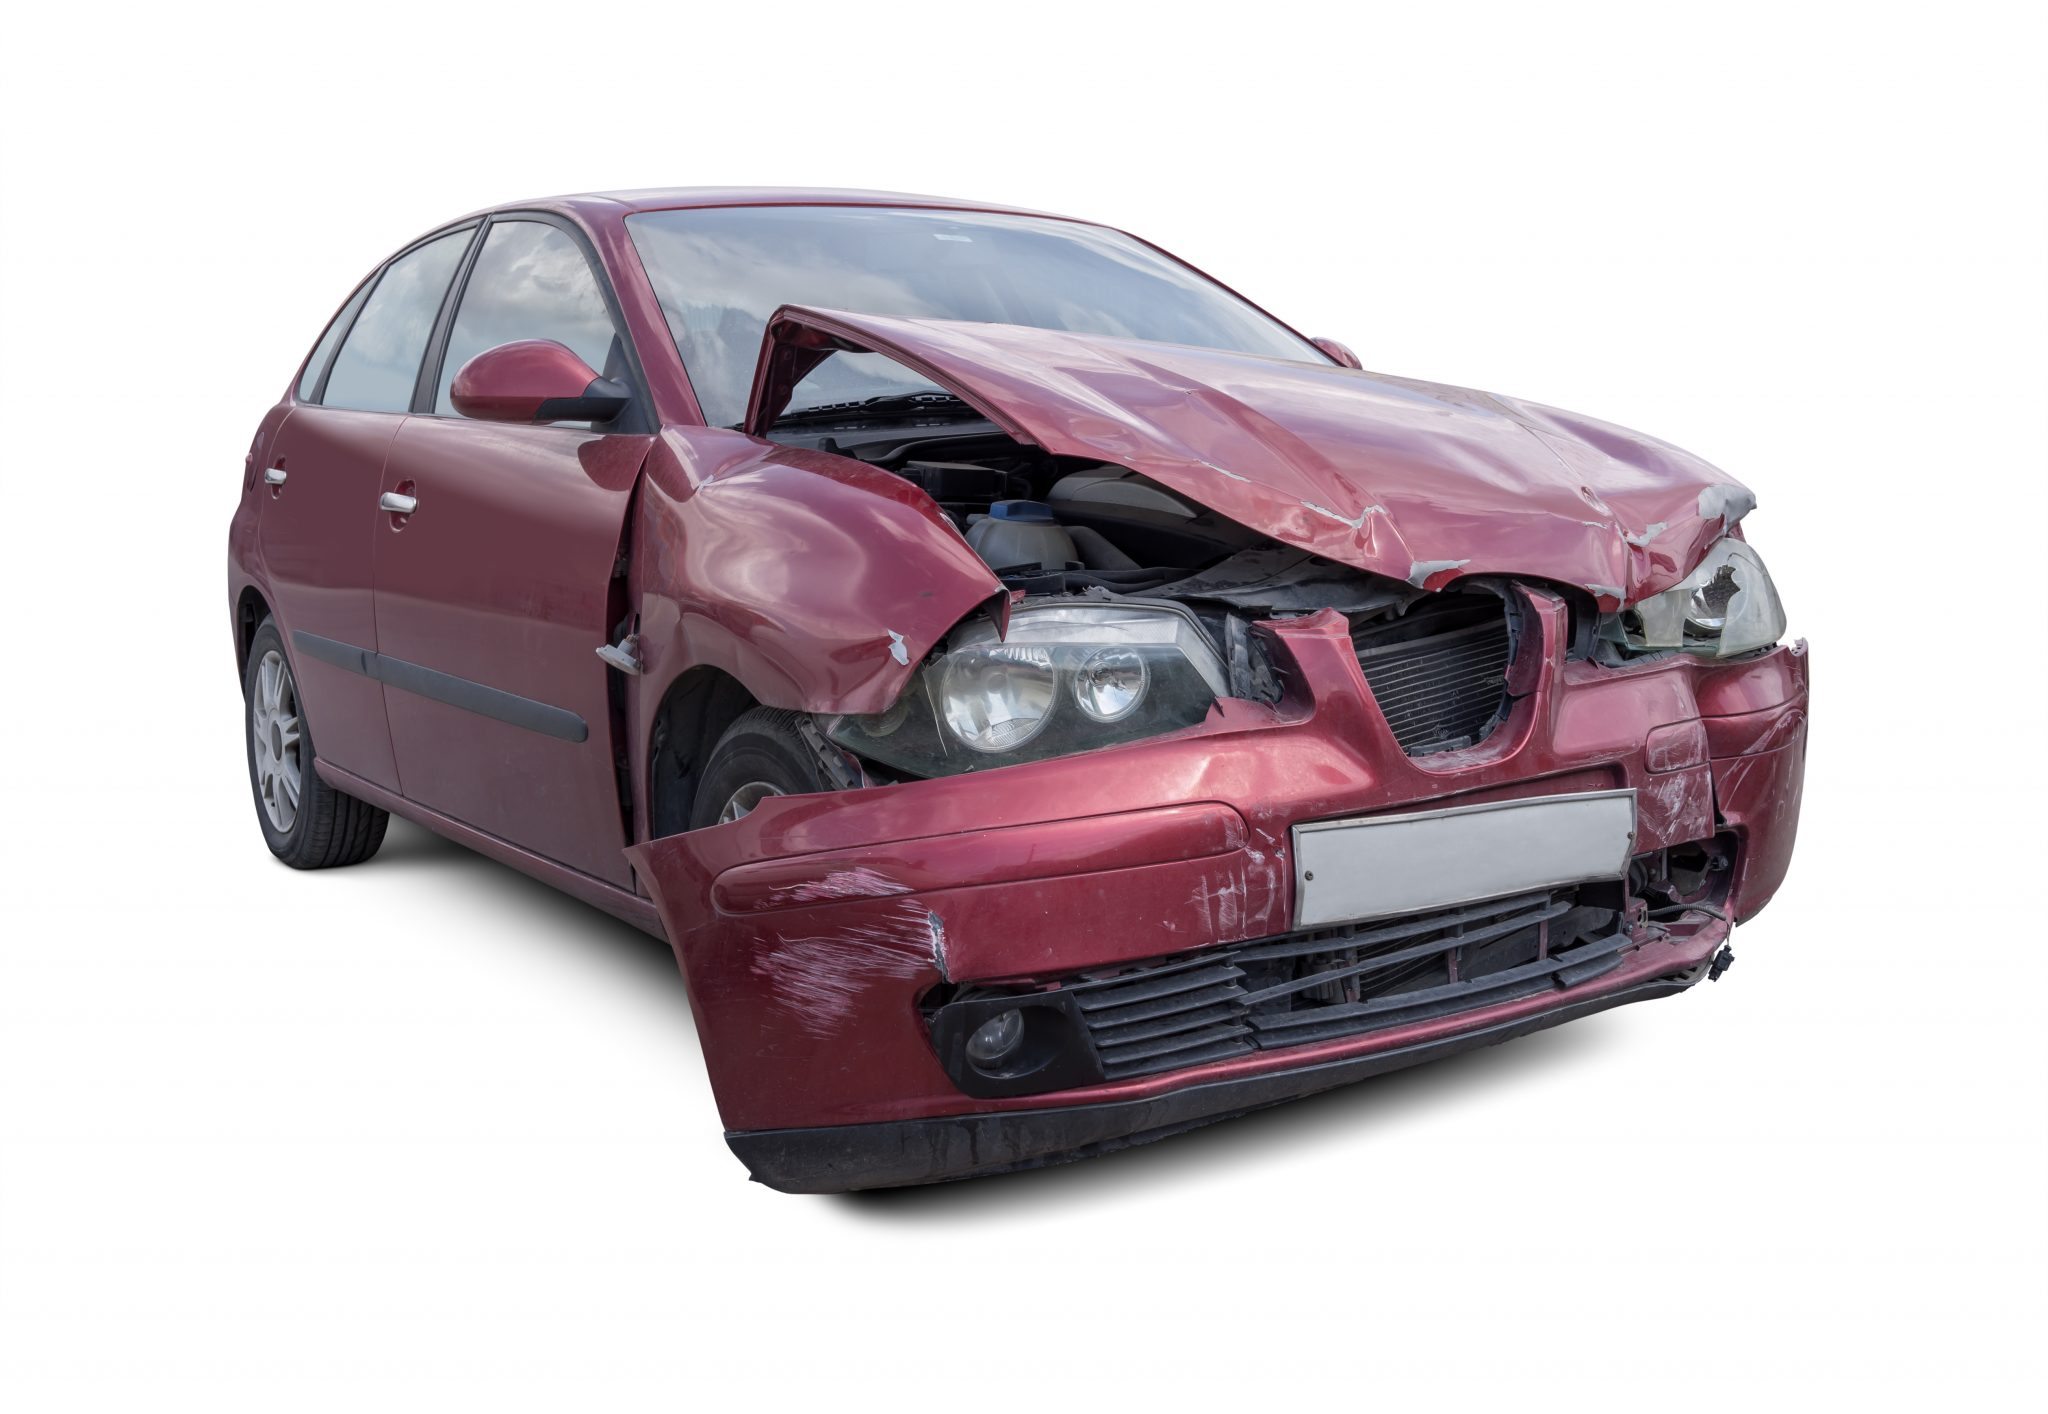
Once you have collected the information about the accident, perform the initial walk around inspection, which will give you the big picture of the overall accident.
It may be helpful to have the customer there when doing the walk around inspection if any questions should arise. However, if there is extensive damage, it may take some time and require removing parts to do a thorough inspection. If this is the case, you may want to explain the process to the customer so they can plan accordingly. Or you can assist them with getting a rental, getting them to their home or work, or whatever the case may be.
Photos
Inspecting and Taking Photos The Outside of Vehicle
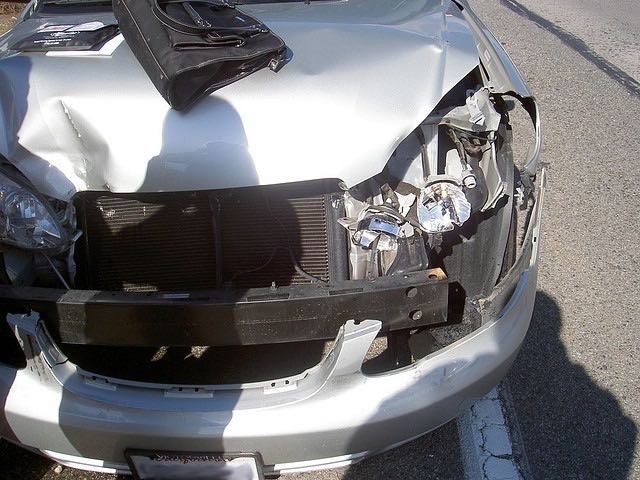
Take good photos during the entire process, but for this chapter, you want to take several photos of the overall damage with perhaps a photo of each corner of the vehicle. Photos of each individual part group will be taken later.
To record your findings, have a notepad that can be taken back to the estimating system. If you’re using an electronic device, such as an iPad, you may be able to record your information to the estimating system during the inspection. Regardless of the method used, record the findings and make necessary notes.
The focus of this chapter is to perform a walk around of the entire vehicle to get a basic idea of the extent of the damage and overall big picture. The next step will be thoroughly inspecting each part group individually, which may require removing parts.
Note: When this content was originally written the content was aligned with the 2013 ASE Task list. However, the updated videos have been aligned with the 2021 ASE Task list to better help those looking for tips to pass the B:6 Auto Damage Analysis and Estimating ASE exam. The content is designed to provide you with tips for the exam, but does not guarantee that you will pass the exam. This is for educational purposes only. For a study guide to the exam visit https://amzn.to/3Gpl6DA
Inspecting and Taking Photos of the Interior Components
- B:14. Identify safety systems physical damage.
- B:15. Identify interior component damage.
- B: 18. Identify and document illuminated dash malfunction indicator lamp(s) (MIL).

Flickr http://creativecommons.org/licenses/by-sa/2.0/legalcode
Although there are no absolutes when it comes to auto accidents, another tip that may give some clues about the accident is the predicted sequence of actions of the people involved.
If you are traveling down the road and see a car coming toward you, what are you going to do? Chances are you will hit your brakes and/or turn away from the oncoming car or object.
That is what most people’s natural response will be without thinking about it. If the first action is hitting the brakes, it can help determine what damage may be present. As the brakes are slammed, the momentum of the vehicle is transferred to the front as it goes down. While the front of the vehicle moves down, the rear of the vehicle rises higher. When the impact happens, it is a safe to assume that the damage will be higher in the front than if the brakes were not applied. If the damage is higher, this may cause more damage to be transferred through the upper parts of the vehicle and result in sag damage.
Many people will have another response. Most are normally going to turn the wheel away from the oncoming vehicle or object. As the vehicle turns, it is now at an angle with the front end down and the rear high when the impact occurs. Now it is safe to assume that the vehicle may also have sidesway damage.
By keeping this sequence of predetermined reactions in mind as you begin inspecting the vehicle with the 5 zones of damage, which we will cover in chapter 3, you will begin to have a clear idea of what damage may be present and what to look for. This will help you generate a more thorough auto repair estimate.
Some people, though, may have different reactions than most other people. Or someone may have been reaching down to get something or texting and did not have time to hit the brakes or swerve. In this case, the predetermined reaction theory will not apply.

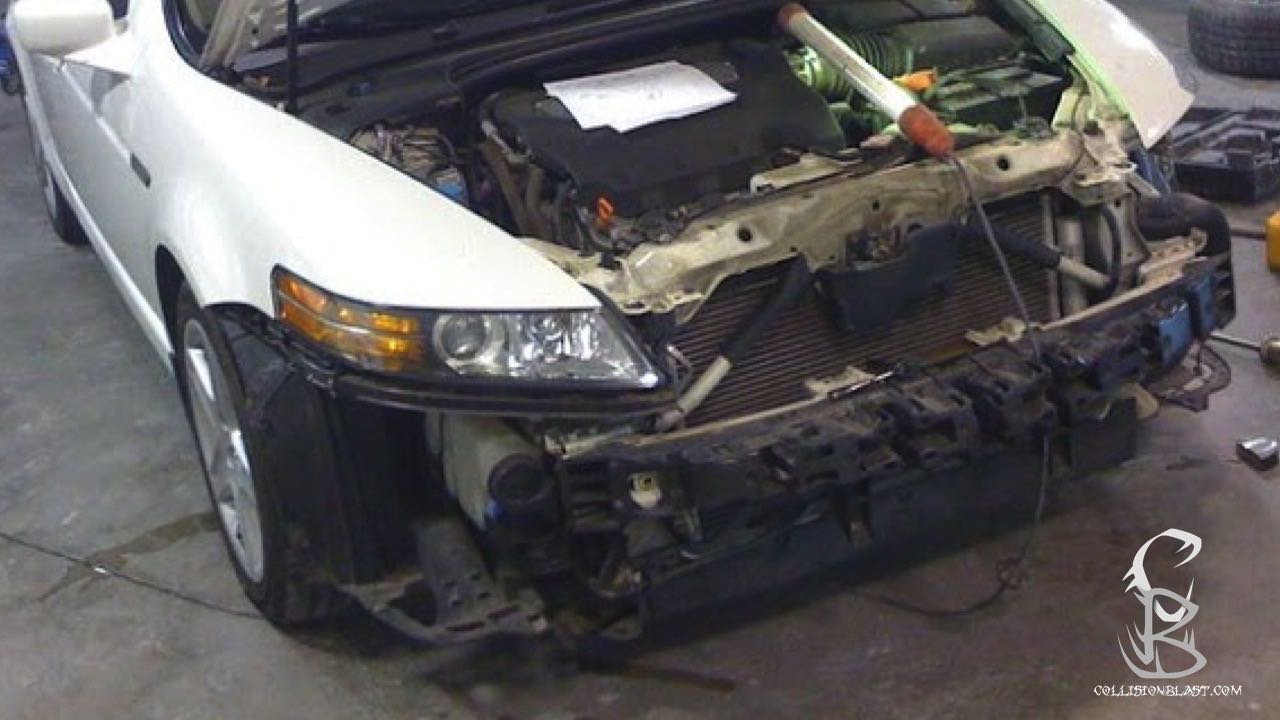
An example of removing the bumper cover to inspect hidden damage.
Many times to properly inspect a damaged vehicle, it is necessary to remove parts to gain access to the area needing to be inspected. For instance, a front bumper cover may need to be removed to determine if the reinforcement bar or impact absorber is damaged.
This may also include removing dirt and road grime for better visibility of the part being inspected.
A quick side note about removing damaged parts. More time may be required to remove these than undamaged parts. If the estimator only adds the time given in the estimating guide to remove the part, then the estimator may be cutting the estimate short. It may even require straightening parts to gain access to bolts. Additional time will then need to be added to the estimate.
I wanted you to be aware of this as we move forward through the inspection process. We will cover adding not included operations and thoroughly inspecting each part group in other chapters.
[…] 1 – LESSON 2 – LESSON 3 – LESSON 4 – LESSON 5 – LESSON 6 – LESSON 7 – […]